Making a Stem
|
||
|
||
| Fold a strip of paper in half the long way (white side up) |

|
|
| Open strip of paper and fold the edges towards the center line. |
|
|
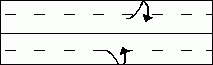
| Fold the stem in half. |

|
|
| Fold the stem in half again if you want the stem to be thicker. |

|
|
|
Attaching the Stem to your Rose
|
|
|
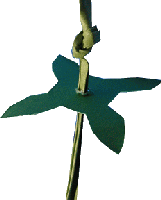
Insert the stem through the hole in the center of the leaf pattern. (You may need to fold the top of the stem in half to make it narrow enough to fit through the hole.) Tie a knot at the top of the stem above the leaf pattern. (Alternatively you can just bent the stem tip and glue or tape it to the leaf pattern.) Open the last fold of the rose and insert the knot into the rose. Reseal the rose. |
|
|
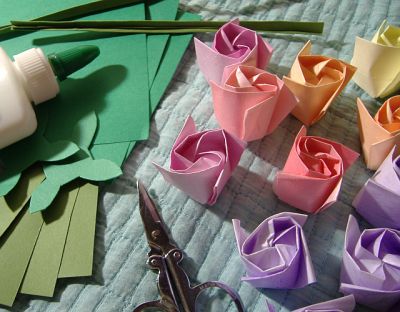
Place glue around the center square on the leaf pattern. Slide the leaf pattern up and stick it securely to the bottom of the rose so that the leafs are at the flat edges of the rose (see image) Hold the leaf in place and gently adjust the stem if it is not straight. Let the rose dry (preferably upside down) until the glue is dry. |

|

|
|